Introduction
BBQ sauce can be the hero or the villain of your grilling session. Apply it at the right time and you’ll get that perfect sticky, finger-licking glaze. Put it on too early, and you might end up with a burnt, bitter crust. Timing and technique are everything when it comes to saucing your barbecue. In this guide, we’ll break down when and how to apply BBQ sauce so you get a delicious glaze without any burning mishaps. Grab a cold drink, fire up the grill, and let’s dive into the saucy secrets that will level up your BBQ game.
Why Timing Matters
Sauce too early or too late? It’s a Goldilocks situation. Slather sauce on your meat too soon, and the sugars can burn into a blackened mess before the meat is cooked. (Most BBQ sauces are high in sugar, which starts to burn around 265°F, and your grill is usually much hotter than that!) On the flip side, if you only brush the sauce on after the meat is off the grill, you miss the chance for it to caramelize and cling to the meat. The result could be a raw-tasting sauce that slides right off.
Timing is all about balance:
- Too Early = Burnt & Bitter: Those sweet and tangy flavors turn into a charred crust if exposed to high heat for too long. Ever bitten into ribs that looked beautifully dark but tasted like charcoal? That’s from saucing too early.
- Too Late = No Glaze: If you wait until after cooking, the sauce won’t fuse with the meat. You might as well just use it as a dip because it won’t create that sticky coating we all love.
- Just Right = Perfect Glaze: Adding the sauce during the final stage of cooking gives you the best of both worlds. The heat caramelizes the sugars just enough to form a tasty glaze, and the flavors have a few minutes to soak in without burning.
In short, timing matters because it affects both flavor and texture. The goal is a glaze that’s caramelized and slightly sticky, with zero burnt bits. So when in doubt, remember: it’s usually better to sauce later rather than sooner.
Choosing the Right Sauce for the Right Meat
Not all BBQ sauces are created equal, and different meats can benefit from different types of sauce. The thickness and sugar content of a sauce determine how it behaves on the grill:
- Light & Vinegar-Based Sauces: Thin sauces (like a tangy Carolina vinegar sauce or a mop sauce) have less sugar and a more watery consistency. They won’t create a thick glaze, but they’re great for adding moisture and tangy flavor during a long cook. Because they’re low in sugar, they are less prone to burning. These lighter sauces are awesome for pulled pork or as a baste during smoking — they seep into the meat and layer flavor without charring. For example, slow-cooked pork shoulder might get a vinegar mop throughout the cook, and you can still finish with a sweeter sauce at the end if you want that glaze.
- Thick & Sweet Sauces: Thick, tomato-based sauces (think Kansas City-style with molasses, brown sugar, etc.) are the classic glaze-makers. They cling to ribs and chicken nicely and caramelize into that sticky, finger-licking coating. The downside? All that sugar means they burn quickly if left over high heat. These sauces are best applied toward the end of cooking. For instance, when grilling chicken or pork ribs, a thick sweet sauce should go on in the last 10-30 minutes (depending on heat) so it can bubble and lacquer without turning to carbon.
- Mustard or White Sauces: Mustard-based BBQ sauces (common in South Carolina) have a moderate thickness and tangy-sweet profile, and Alabama white sauce (a mayo-based sauce for chicken) is a category of its own. These aren’t as sugary as the thick sweet sauces, but you still don’t want to expose them to direct high heat for too long. Mustard sauces pair great with pork and chicken, adding zest. They can handle a little more time on the grill than super sweet sauces, but it’s still wise to add them near the end to avoid separation or burning.
Match your sauce to your meat: As a general rule, milder meats like chicken and pork can handle sweeter sauces (since the meat itself is mild, the sauce provides a lot of the flavor). Richer meats or long-smoked meats (like a beef brisket or pulled pork) often use thinner, tangier sauces during cooking to enhance flavor without overwhelming the meat. Then a sweeter glaze can be added at the finish if desired. Always consider the sugar content: the higher the sugar, the later in the cook you should apply it. And remember, no matter the sauce, thin layers are better for building up a glaze than one big slather (more on that next).
Step-by-Step Guide to Applying BBQ Sauce
Ready to get hands-on? Here’s a step-by-step look at how to sauce different meats for that perfect glaze. These techniques will help beginners and intermediate grillers nail the timing and method.
Ribs (Pork Ribs)
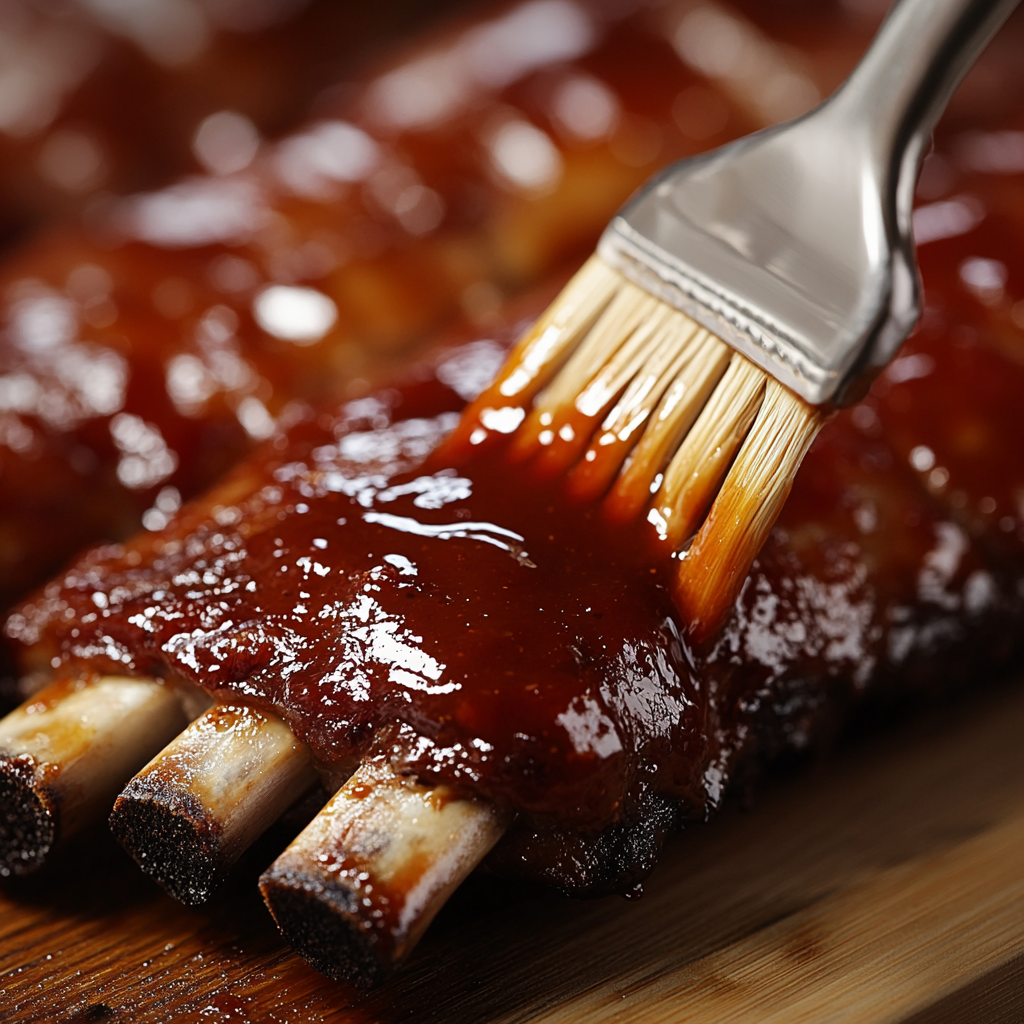
- Season and Slow Cook First: Start by seasoning your ribs with a dry rub or spices and cook them low and slow (or indirect heat) without any sauce. Let the smoke or heat do its work tenderizing and flavoring the meat. This could be in a smoker or on a grill with indirect heat. For many, ribs take a few hours to cook before sauce even enters the picture.
- Apply Sauce in the Last 20-30 Minutes: When the ribs are nearly done (meat has receded from the bone ends, and they’re tender), brush on your BBQ sauce. Don’t drown them – paint a thin, even layer on all sides of the rack. Too much sauce at once can drip and cause flare-ups.
- Let It Caramelize: Close the grill lid and let the heat work on the sauce for about 5-10 minutes. This will caramelize the sugars and form a sticky surface. Keep the heat at a medium level; if you’re smoking at low temperature (225-250°F), you might go a bit longer (up to 30 min of saucing is fine). If you’re grilling hotter, 10-15 minutes is usually enough for each layer.
- Layer Once or Twice More: For an extra-glazy finish, you can repeat the brushing one or two more times. After the first layer sets, add another thin coat and cook for another few minutes to set that layer. Ribs can handle a couple layers of sauce – that’s how you build up a thick, glossy glaze. Just avoid applying so much that it starts to pool or drip excessively.
- Finish and Rest: Once the sauce has set and looks nicely tacky (not wet), pull the ribs off the grill. Let them rest a few minutes before cutting. The sauce will cool a bit and get even stickier. Get your napkins ready and enjoy those perfectly sauced ribs!
Chicken (Pieces or Whole)
- Cook Chicken Almost Completely Plain: Whether you’re grilling chicken breasts, thighs, or drumsticks (or even a whole chicken), begin by cooking the chicken without sauce. Season your chicken with a dry rub, salt and pepper, or marinade beforehand, but hold off on the sugary sauce. Chicken often cooks faster than ribs, so you’ll likely be grilling it over medium heat for, say, 20 minutes (just an example for pieces) before saucing.
- Sauce During the Last 10-15 Minutes: When the chicken is about 75-80% done (almost at safe internal temp, juices running clear), start brushing on your BBQ sauce. Use a basting brush or mop to apply a light coat on one side of the chicken. Let it cook for 4-5 minutes, then flip and sauce the other side. For a whole chicken on indirect heat, start saucing when the bird is nearly done, then continue to cook until the skin glazes.
- Build the Glaze: Like with ribs, you can add 1-2 more thin layers for extra flavor. Keep the layers thin to avoid burning. After each coating, give it a few minutes with the lid closed so the sauce can bake on. If you notice any flare-ups (sauce dripping onto coals or burners), move the chicken to a cooler spot on the grill to prevent charring.
- Watch Closely: Chicken skin and sauce can both burn quickly. Stay close to the grill during this final phase. You’re looking for a nice mahogany color on the chicken, not black. The sauce should bubble and caramelize, but if it starts to look dark or you smell burning sugar, take it off the heat sooner.
- Serve with Extra Sauce (Optional): Once your chicken has that beautiful sticky glaze and is fully cooked, remove it from the grill. You can serve it as-is (the flavor will be cooked in) or with a little extra sauce on the side for dipping if anyone wants more. Enjoy the balance of smoky grilled chicken and sweet tangy glaze!
Pork (Pulled Pork, Pork Chops, etc.)
Pork covers a lot, so let’s split it into two common scenarios:
For Large Cuts (Pulled Pork/Boston Butt):
- Focus on Rub and Mop First: When smoking a pork shoulder or butt for pulled pork, typically you rely on a dry rub and maybe a vinegar mop sauce during the long cook. Don’t use thick BBQ sauce during the smoking – it’s unnecessary and will likely burn over those many hours. Instead, cook the pork until it’s fall-apart tender with just the rub and the meat’s own juices (and perhaps occasional spritzing or mopping with apple juice or vinegar to keep it moist).
- Sauce After Pulling: The magic happens after the pork is shredded. That’s when you mix in your BBQ sauce to taste. Since the meat is off the heat, you won’t risk burning the sugars. If you want a glaze on the bark (the crusty exterior) of a pork shoulder, you can brush a thin layer of sauce on the outside of the meat during the last 15-30 minutes in the smoker, just to set a slight glaze on the bark. But be very sparing – the meat’s already nearly done, and you just want a little gloss.
- Serve with Sauce: Pulled pork is often served with sauce on the side so everyone can sauce their portion to their liking. In short, for big pork roasts, sauce mostly at the end or after cooking, not throughout.
For Pork Chops or Tenderloin:
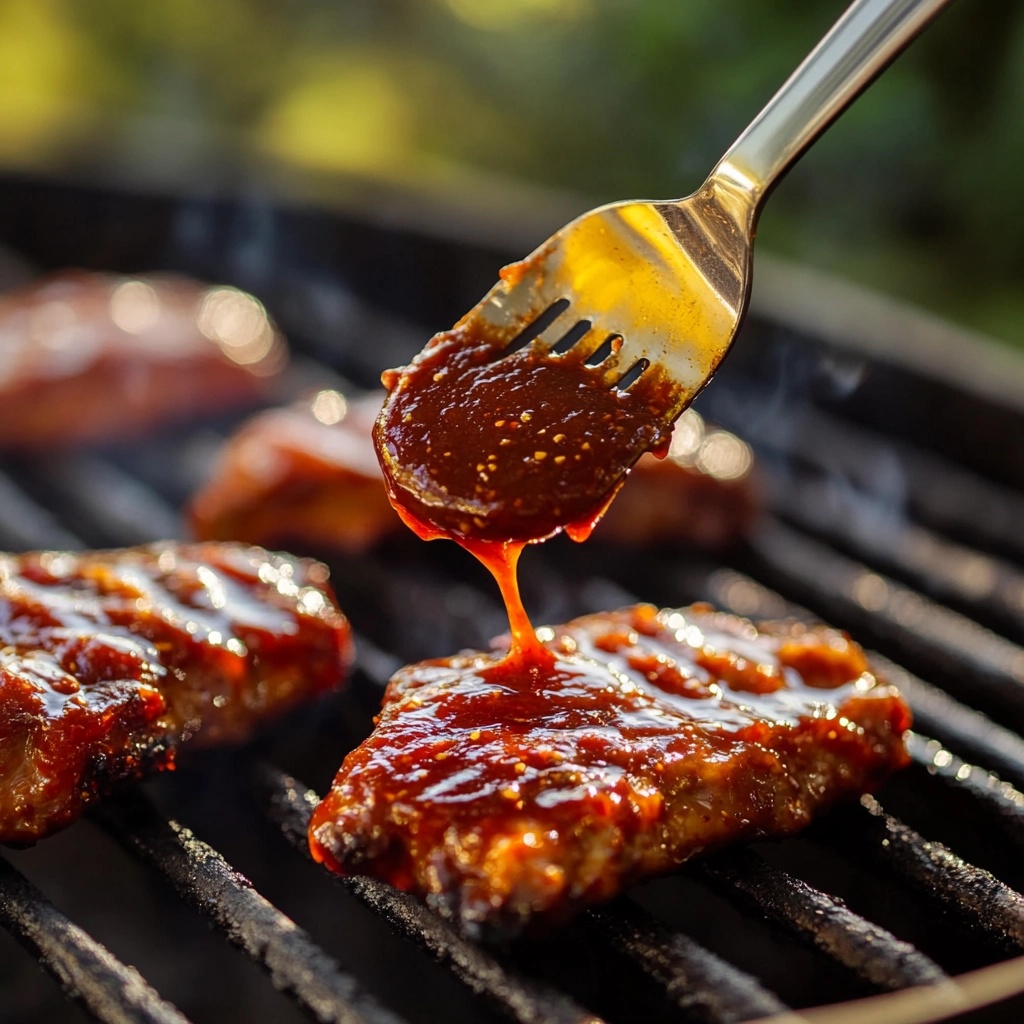
- Grill Most of the Way Plain: Just like chicken, start pork chops or tenderloins without any sugary sauce. Season them with salt, pepper, or a nice spice rub. Sear and cook them on medium heat until they’re almost done (for chops this might be a few minutes each side; for a tenderloin, until it’s about 135-140°F internal if you’re aiming for ~145°F final).
- Sauce in Last Few Minutes: Brush a light coat of BBQ sauce on the chops/tenderloin during the final 5-10 minutes of cooking. Flip and glaze the other side as well. Because these cuts can cook relatively quickly over direct heat, you really want to save the sauce for the very end. A thick pork chop might handle 10 minutes of glazing time (5 minutes per side with sauce), whereas a thin chop might only need one flip and a couple minutes just to tack up the sauce.
- Monitor and Remove: Keep an eye out for burning, especially around any fatty edges of a chop where dripping fat + sauce can cause flames. Once the sauce has caramelized into a nice shine and the pork is cooked through, take it off the grill. Let it rest a couple minutes (the glaze will set a bit more) and serve.
Tip: No matter the cut of pork, warming your sauce up slightly (even 20 seconds in the microwave or leaving it in the sun while you grill) can help it spread better and caramelize faster. Cold sauce straight from the fridge can cool down your meat and won’t glaze as nicely.
Common Sauce Mistakes to Avoid
Even seasoned grillers slip up now and then. Here are some common BBQ saucing mistakes and how to avoid them:
- Saucing Too Early: We’ve said it a bunch, but it bears repeating. Brushing on sauce at the start of grilling is a recipe for burned sauce. Always wait until the final stretch of cooking to add that sweet sauce, especially for high-sugar varieties.
- Applying Too Much at Once: It might be tempting to slather on a huge glob in one go (because who doesn’t love sauce?). But thick layers won’t cook properly – the outside layer will burn before the inner sauce ever caramelizes. Thin, even layers are the way to go. You can always add another coat, but you can’t undo a burnt sugary mess.
- Not Watching the Grill After Saucing: This is not the time to walk away to chat or grab a drink. Once sauce is on the meat, stay alert. Sauced meats can go from perfectly glazed to charred in a minute if a flare-up happens or the heat is too high. Keep the grill cover down most of the time to limit oxygen (which can feed flames), but peek frequently.
- Uneven Coating: If you only brush one side or miss spots, you’ll get an uneven glaze – some bites burnt, some bites bare. Take a moment to evenly coat your meat. Use a brush or even the back of a spoon to spread out. And don’t forget the edges of racks of ribs or the ends of a thick chop.
- Using High-Heat Direct Flame Right After Saucing: Direct flames and sugary sauce don’t mix well. If you’re cooking over charcoal or an open flame, consider moving your meat to indirect heat after you sauce it. You can always finish with a quick direct heat kiss for 30 seconds to char slightly if that’s your style, but prolonged direct flame will burn the glaze.
- Cross-Contamination: This is more of a safety tip. If you use a brush on raw meat and dip it back into your bowl of sauce, that sauce now has raw meat juices. Try to separate some into a smaller bowl for basting. That way you won’t ruin a whole bottle or bowl of sauce, and you can safely use any leftover for serving. Or at least use a clean spoon to put on your brush each time, and never double-dip a raw-contaminated brush.
Avoiding these mistakes will put you well on your way to BBQ sauce glory. A little attention and good technique ensure your sauce complements the meat instead of ruining it.
Conclusion
Mastering BBQ saucing is a game-changer for your grilling repertoire. It’s all about finding that sweet spot – both in flavor and in timing. Now you know why waiting to sauce is usually the smart move, how to pick a sauce that suits your meat, and the step-by-step for getting that drool-worthy glaze on ribs, chicken, and pork. We covered what to do, and just as importantly what not to do.
As with all things BBQ, a bit of experimentation is part of the fun. Every grill runs a little differently and each sauce might behave in its own way. Don’t be afraid to play around within these guidelines. Maybe you find that 15 minutes is perfect for your grill’s heat, or that you like to do two thin coats on ribs instead of three. The key is you’re now armed with the knowledge to avoid a burnt disaster and achieve mouthwatering results.
So fire up that grill, get your favorite sauce ready, and enjoy the process. There’s nothing more satisfying than lifting the lid to see your meat gleaming with a perfect BBQ glaze. Give it a try, make it your own, and most importantly, have fun with it. After all, grilling is as much about the good times and stories as it is about the food.
Happy grilling, and may your BBQ sauce always stick in all the right ways!
Call to Action
Liked these tips and ready for more BBQ goodness? Join the Charcoal Brothers community! Follow us on social media for daily grilling inspiration, behind-the-scenes shenanigans, and mouthwatering food pics. And if you haven’t already, be sure to subscribe to our email list. It’s the best way to get our latest recipes, how-to guides, and exclusive grilling tricks delivered straight to your inbox.
Thanks for reading, and welcome to the family – now let’s get out there and make some BBQ magic!
Grilling can be dangerous. Information provided is for educational purposes only. Always follow proper grilling and food safety guidelines when handling and cooking meat. Use a meat thermometer to ensure safe internal temperatures, wash hands and surfaces thoroughly, and avoid cross-contamination. Information is for educational purposes only
Some posts may contain affiliate links. If you purchase through these links, we may earn a small commission at no cost to you.