Introduction
So you’ve got a gas grill but no dedicated smoker, and you’re craving that mouthwatering BBQ smokiness? No problem! With a few tricks up your sleeve, you can smoke meat on a gas grill and achieve a fantastic smoky flavor without shelling out for a standalone smoker. Yes, it’s absolutely possible to turn your regular gas grill into a temporary smoker and get great results – all it takes is the right technique, a bit of patience, and of course, some good wood chips. In this guide, we’ll walk you through the process step by step, from setting up your grill and choosing the best wood chips to mastering the smoking process.
Why Smoke Meat on a Gas Grill?
You might be thinking, “A gas grill for smoking? Really?” It’s true that gas grills aren’t traditionally used for low-and-slow barbecue, but they can still get the job done. In fact, given that over 60% of Americans own a gas grill, it’s a practical way for most people to dabble in smoked BBQ without a dedicated smoker. Here are some benefits of using a gas grill for smoking:
- Convenience and Control: Propane grills are incredibly easy to use – turn a knob and you’ve got steady heat. That ease and make it simpler to maintain the low temperatures needed for smoking, especially if you’re not ready to manage charcoal or wood fires.
- No Extra Equipment Needed: If you already have a propane grill, you don’t need to buy an expensive smoker to start smoking meat. A simple foil packet of wood chips can transform your grill into a smoker.
- Versatility: Your gas grill can handle multiple roles. One day you’re searing steaks, the next you’re slow-cooking ribs with wood smoke. It’s basically a grill and a smoker in one.
Sure, a gas grill might not flavor meat quite as intensely as a dedicated wood or charcoal smoker, but with the right approach you’ll still achieve a delicious smoky taste. It’s all about technique. And speaking of technique, let’s talk about one of the most important factors: the wood.
Choosing the Right Wood Chips
When it comes to smoking, wood chips are your secret weapon on a gas grill. Different woods produce different flavors in the smoke, so the type of wood chip you use will impact how your meat tastes. Here’s a quick rundown of popular wood chip options and what kind of flavor they bring:
- Hickory: A classic for BBQ, hickory wood gives a strong, hearty smoke flavor. It’s the kind of rich, bacon-like smokiness that’s fantastic on pork (ribs, shoulders) and also works well for beef and poultry.
- Mesquite: A bold wood that burns hot and fast, mesquite provides an intense, earthy smoke flavor. It’s great for flavorful cuts of beef or game, but use it sparingly – too much mesquite can turn meat bitter because of its strength.
- Fruit Woods (Apple & Cherry): Fruitwood chips produce a mild, sweet smoke that won’t overpower delicate meats. Apple wood lends a subtle sweetness that’s great for poultry and pork, while Cherry wood adds a similar light sweetness along with a rosy color on the meat. Use these when you want a gentler touch of smoke.
Soaking vs. Dry Wood Chips: You might have heard you should soak wood chips in water before using them. Truth is, soaked chips mostly just steam until they dry out, which means very little actual smoke reaching your meat. For a gas grill, it’s best to use dry wood chips for consistent, flavorful smoke. If you’re worried about the chips burning up too quickly, use a foil packet or smoker box to slow their burn (more on that next), and rely on a water pan for moisture rather than soaking the wood.
Setting Up Your Gas Grill for Smoking
Now let’s get your grill ready to smoke. The key is to set it up for indirect heat – that means the meat is not sitting over a direct flame. This setup turns your grill into a kind of oven filled with smoke. Here’s how to do it:
- Prepare a wood chip packet or smoker box: If your grill has a built-in smoker box, fill it with your chosen wood chips. If not, make a DIY packet. Place a couple of handfuls of dry wood chips on a large sheet of heavy-duty aluminum foil. Wrap the foil around the chips (like wrapping a burrito) and crimp it closed, then poke a few small holes on top of the packet. This will allow smoke to escape and circulate, without letting the chips catch fire too quickly.
- Set up two heat zones: Most gas grills have multiple burners, which is perfect for creating a two-zone cooking area. Turn on one burner (on one side of the grill) and leave the other burner(s) off. For example, on a two-burner grill, light the left burner and leave the right one off. On a three-burner, you might light the left or right burner and leave the others off. Place your foil packet or smoker box of chips over the lit burner – this is your “hot zone” for smoke and heat. The other side, with no direct flame, will be the “cool zone” where the meat will cook slowly without direct heat.
- Add a water pan (optional): To help regulate heat and add moisture, place a small aluminum pan of water on the grill, preferably on the cool side under the grates or near the meat. This will add humidity to the grill and help keep the temperature steady. Just be sure it’s not directly over a burner, so the water doesn’t evaporate too quickly.
- Preheat and stabilize temperature: Close the lid and preheat your grill. The burner under the wood chips will start producing smoke after about 5–10 minutes. Aim for a grill temperature of around 225°F for smoking. Adjust the burner knob as needed to maintain roughly 225–250°F. Once your grill is holding steady in that range and you see wisps of smoke coming from the packet, you’re ready to start cooking.
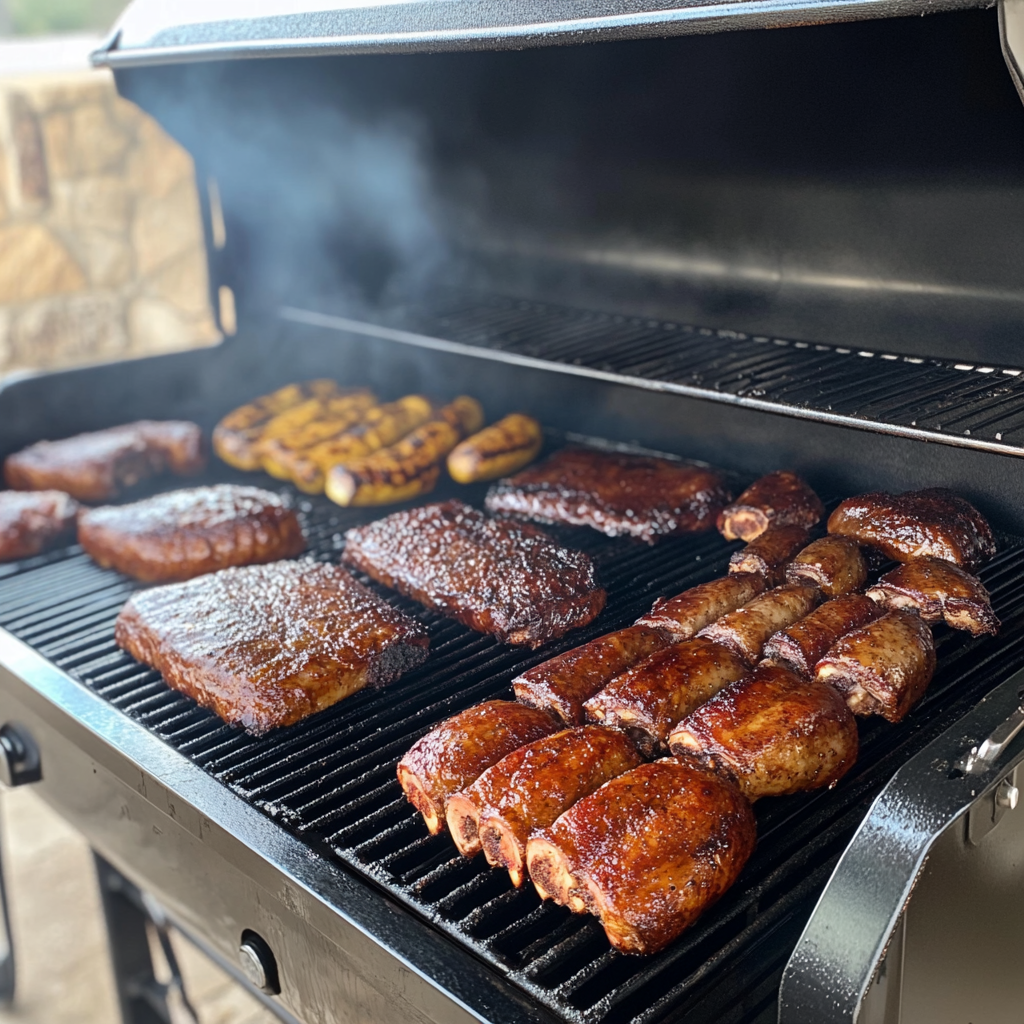
The Smoking Process
With your grill preheated and smoke already puffing from the wood chips, it’s time to get the meat on the grill.
- Place the meat on the grill (indirect heat): Put your seasoned meat on the grate over the unlit side of the grill (the cool zone). For instance, if the left burner is on with the wood packet, place your meat on the right side. This way, the meat will cook slowly with indirect heat, bathing in smoke, rather than being seared by direct flame. Once the meat is in place, close the lid.
- Keep the lid closed (most of the time): Resist the urge to constantly peek. Every time you open the grill, heat and smoke escape and your cooking slows down. Try to only open the lid when you have to – for example, when it’s time to add more wood chips or to check the meat’s temperature. No frequent fiddling! Let the smoke do its work.
- Add fresh wood chips periodically: Wood chips don’t last forever. A foil packet or smoker box of chips will smolder for about 30–45 minutes before it’s spent. When you notice the smoke dwindling, it’s time to add more chips. Have a new foil packet ready to go, and using tongs, remove the old packet and place the new one over the heat. Do this swiftly to minimize heat loss. Plan on replenishing your wood chips roughly every half hour to keep the smoke flowing.
- Cook low and slow until done: Smoking isn’t a quick process – be patient, and let the low heat do its job. Depending on what you’re cooking, it could take a few hours for the meat to reach perfection. Keep maintaining that steady 225°F-ish temperature, adding wood as needed, until your meat is cooked through and tender. (Using a meat thermometer is the best way to check doneness without opening the lid too often.) The reward for your patience will be juicy, smoky meat that’s well worth the wait!
Pro Tips for Better Smoke Flavor
Smoking on a gas grill is a bit of an art and science. Here are some extra tips to help you get the best flavor out of your setup:
- Don’t over-smoke the meat: More smoke isn’t always better. Too much smoke can make your meat taste bitter or acrid. Thick, heavy smoke over a long time can deposit creosote on the meat, causing a harsh flavor. Aim for a thin, bluish smoke rather than billowing white clouds. In short, start with a moderate amount of wood – you can always add more if needed, but you can’t undo an over-smoked piece of meat.
- Prep your meat for success: Great BBQ flavor starts with how you season the meat. Use a good dry rub or marinade before cooking to enhance flavor. Rubbing your meat with a blend of salt, sugar, and spices a few hours (or even a day) in advance will act as a dry brine, seasoning it deeply and helping it retain moisture. If you have time, brining larger cuts or whole poultry in a saltwater solution is another excellent way to boost juiciness. Also, try not to put cold meat straight on the grill – let it sit at room temperature for 20–30 minutes first so it cooks more evenly and absorbs smoke better. And pat the meat dry before applying your rub; too much surface moisture can hinder smoke absorption.
- Use a water pan for moisture: As mentioned earlier, a water pan in the grill helps maintain a humid cooking environment. This keeps the meat from drying out and also helps stabilize the grill temperature during a long cook. Most of the time, a pan of water will last for several hours, but if you notice it running low, just refill it. (Some pitmasters like to add beer or juice to the water pan for extra aroma, but plain water works great.)
Finally, a quick safety reminder: make sure you have enough propane in your tank for the duration of the cook, never leave your grill completely unattended, and keep a fire extinguisher or a hose nearby just in case. Smoking is a slow process, so safety first, and enjoy the ride!
Wrap-Up & Final Thoughts
Smoking meat on a gas grill might sound unconventional, but as you’ve seen, it’s definitely doable – and you can achieve truly delicious results. With a simple two-zone setup and some wood-chip wizardry, your trusty gas grill can produce tender, smoky barbecue that tastes like it came from a dedicated smoker. The key is all in the technique and being willing to experiment.
So don’t be afraid to try it out. Maybe start with a simple smoked chicken or rack of ribs to get the hang of it, then graduate to a bigger project like a brisket or pork shoulder. Each cook will teach you something new about controlling heat and smoke (and you get to eat your homework!). Next time you’re craving that authentic BBQ flavor but only have a gas grill on hand, you know it’s not a limitation at all. Go fire up that grill and let’s get smoky!
Grilling can be dangerous. Information provided is for educational purposes only. Always follow proper grilling and food safety guidelines when handling and cooking meat. Use a meat thermometer to ensure safe internal temperatures, wash hands and surfaces thoroughly, and avoid cross-contamination. Information is for educational purposes only
Some posts may contain affiliate links. If you purchase through these links, we may earn a small commission at no cost to you.